

Want to start a WordPress blog? Godaddy managed WordPress hosting makes it easier to start a blog in few minutes. In this tutorial, I will share how you can install WordPress blog on your Godaddy hosting account. I will walk you through step by step guide on installing WordPress on Godaddy managed WordPress hosting account.
Here is how to get started.
How to Install WordPress on Godaddy WordPress hosting:
Godaddy offers one-click WordPress installation. You only need to configure few settings such as your username, password & few others details, rest everything will be done by auto-install. It will automatically create your database for WordPress, and your blog will be up and running in 5 minutes or less. So, let’s go ahead & let get your first blog up & running.
Check out Godaddy Managed WordPress hosting
Login to your Godaddy dashboard. The first screen will list down all the products you have. Click on managed WordPress to start WordPress blog installation process.

On the next screen click on Setup below New managed WordPress.

Godaddy offers two options:
- Install New WordPress Website
- Migrate existing WordPress website
In this guide, I will show you how to install WordPress from scratch. In upcoming tutorials, I will share how to migrate WordPress from one hosting to Godaddy account. Click on Create a new WordPress site.

Godaddy makes installation of WordPress easy, and you just need to add few details.

- Domain name: Select the domain name on which you need to install WordPress.
- Username: Select the username that you will be using to login to your WordPress dashboard.
- Email: Make sure you use an email where you can receive installation information. You can change your email address anytime inside WordPress dashboard after installing it.
- Password: Use a complex password to ensure your WordPress blog remains safe from hackers.
Click on Finish and Godaddy managed WordPress installer will automatically setup and install WordPress blog for you. It may take about a minute or two for your WordPress blog to be ready. Once it’s done, you will see a successfully installation screen like this:

You will also get an email once the installation is done. The email will contain your WordPress dashboard login & username. You can login to your WordPress dashboard to setup your WordPress blog.
Go Daddy Quick Setup
Godaddy offers Go Daddy Quick Setup WordPress plugin that helps a non-technical user to setup blog, business website, Gallery & personal Website in few steps. The first time you would login to WordPress dashboard, you would see a screen like one below:
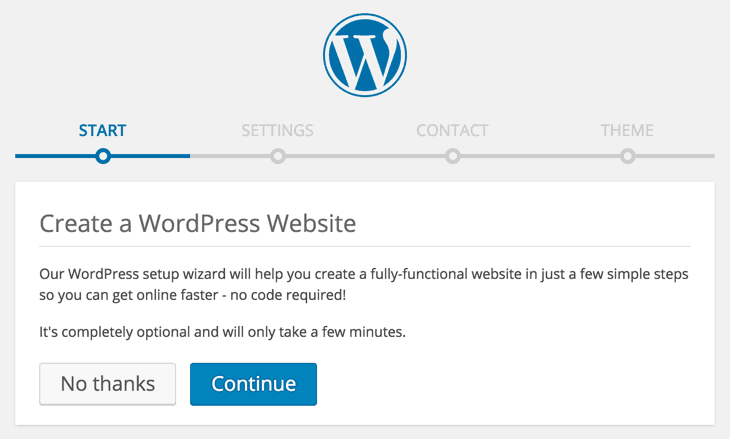
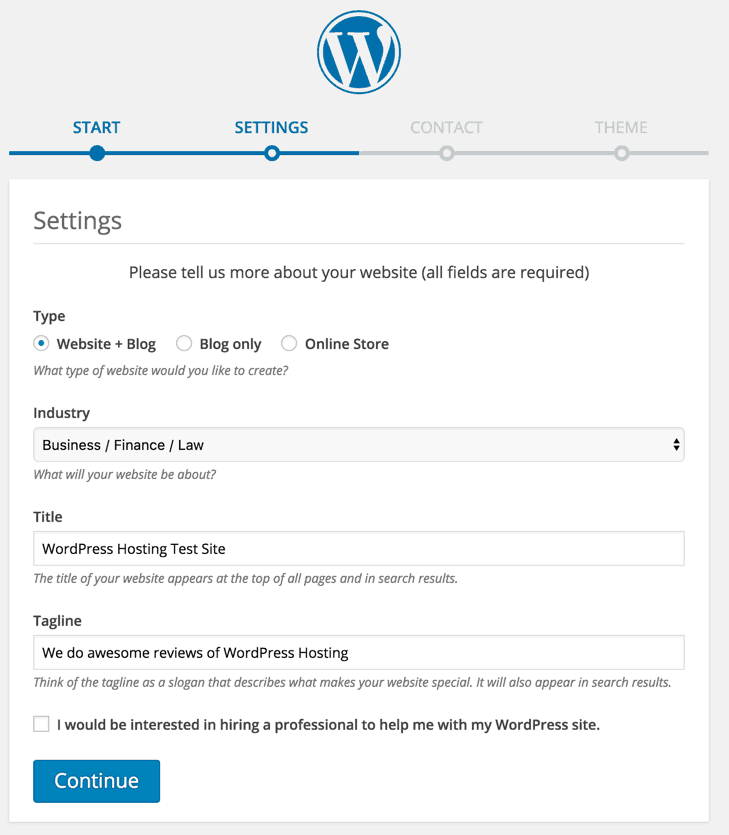
Click on continue & it would take you to the next screen. Select what kind of website you want to create with WordPress.
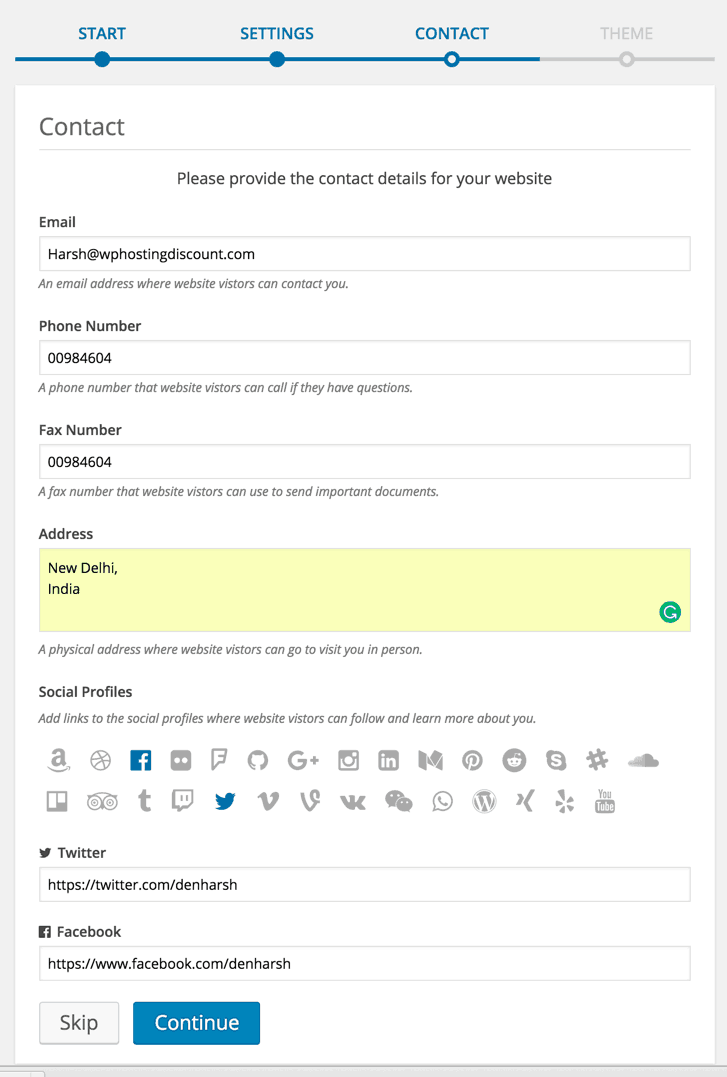
On the next screen add your contact details. Ensure it’s all professional & don’t add any information like your home-address or private number that you don’t want to share with the world.
Click on continue & final setp is to select the theme. You can of course change your theme anytime. You can hover your mouse on any theme & click on preview. This way, you can preview site before finalizing the theme. (The whole experience was easy & anyone with zero experience will be able to customize & select a good looking WordPress theme).
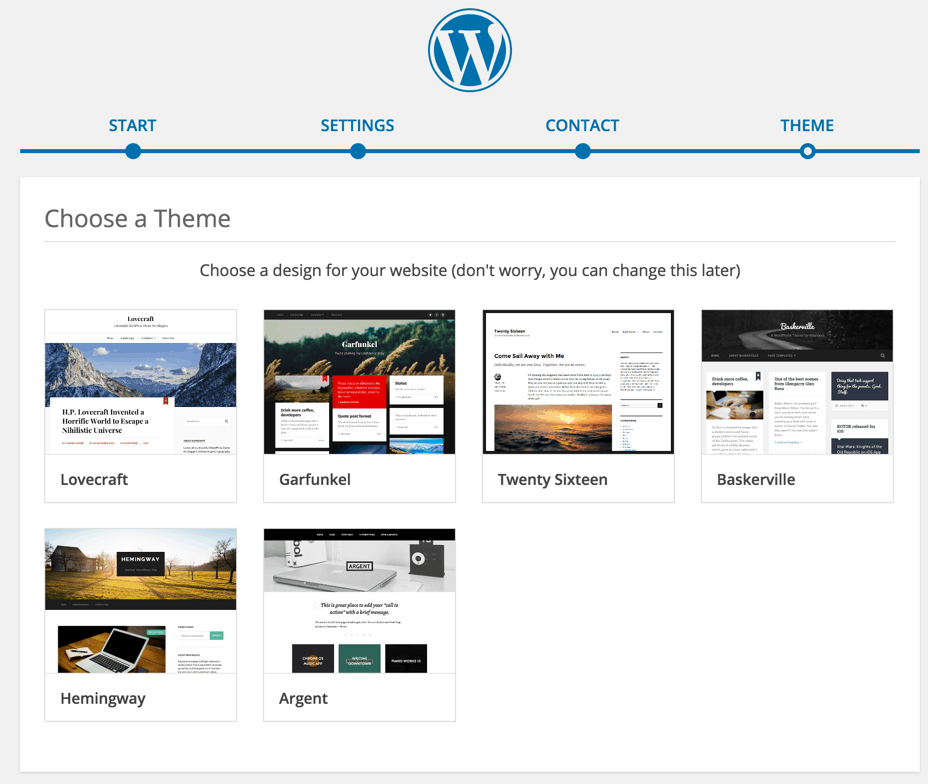
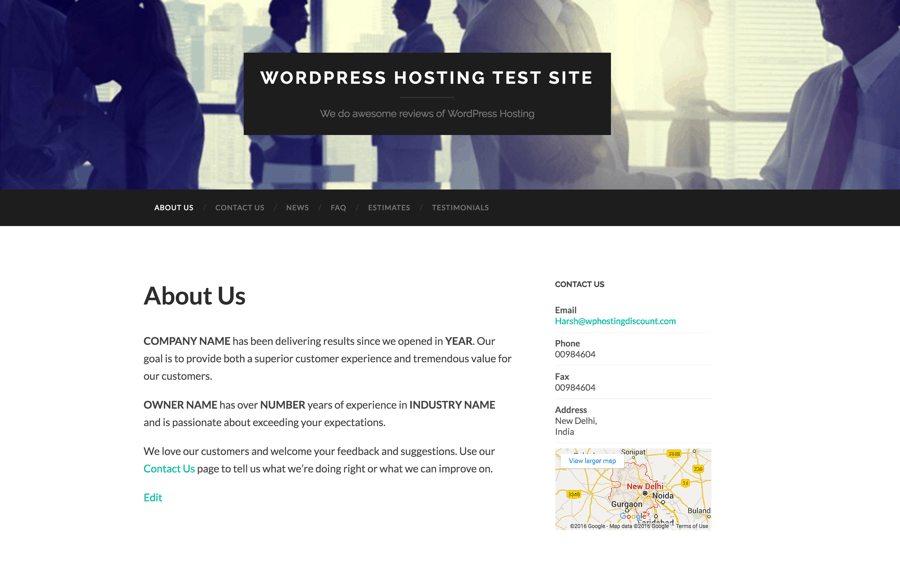
All the themes are pretty good & a good place for the budget constraint business owner to start a good looking website using WordPress on Godaddy managed WordPress hosting. All themes are responsive & will give godo experience on mobile browser. Click on select to apply any theme & click on ‘X’ at the top left to close the preview option. Here is how the final site looks like:
Looks professional. Huh!
Another thing which I really like about this setup is, WordPress takes care of Permalink structure & by default your permalink is SEO friendly. Also a contact page is added with Contact form & few other important pages.
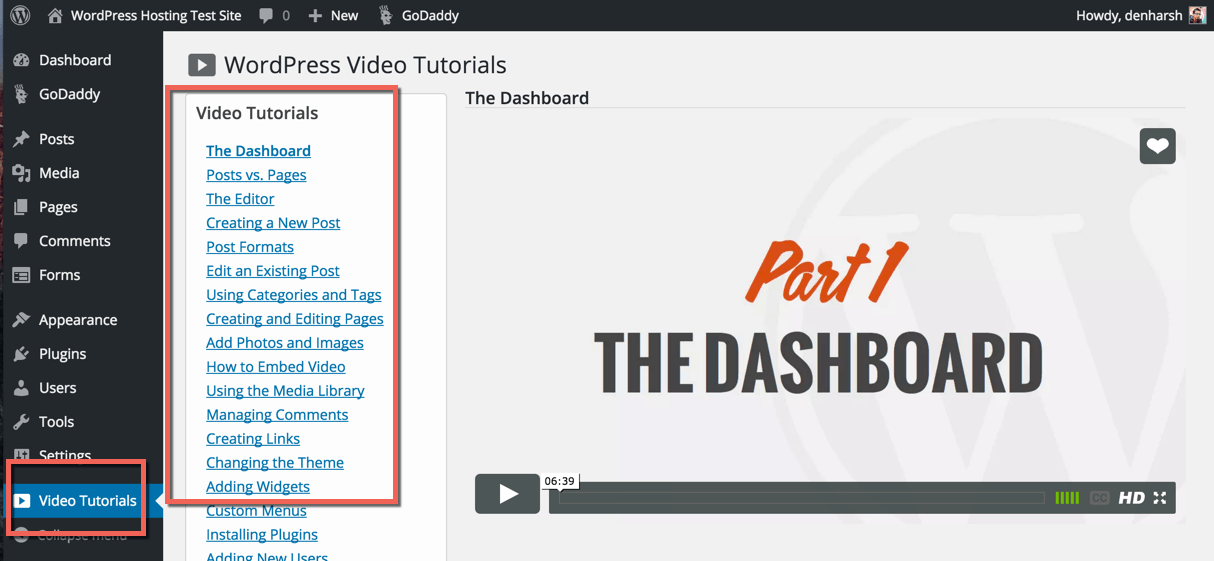
Learn WordPress with free video tutorials:
Godaddy is one of few hosting companies that offer free WordPress video training. You can click on Video tutorials at the left bar, and learn everything about WordPress by watching videos.
If you have done a WordPress training & is well versed with WordPress, you can ignore the above step. You can directly go to Plugins and disable Go Daddy Quick Setup & Sidekick plugin. I’m sure it will be easier for you to figure out next steps. If you want to me to write a tutorial on the next step, feel free to let me know via comment.
With this, your WordPress blog is up and running on Godaddy hosting. Now you need to install all essential plugins and start blogging or building your business Website. For starters, here is essential WordPress plugin that you should install for better ranking & optimization of your site:
Note: No need to install a cache plugin as Godaddy takes care of it.
Check out Godaddy Managed WordPress hosting
That’s it! Now start using your WordPress site to grow your business or publish your articles. If you have any query regarding installing WordPress blog on Godaddy WordPress hosting, feel free to ask me via the comment section. Also, Join us on our social-networking sites. Feel free to share this guide with others to make them learn about setting up WordPress blog in few minutes.
Subscribe

3 thoughts on “How To Install WordPress On Godaddy Managed WordPress Hosting”
How can I add this “add” or how is it called for Go Daddy Hosting? Thank you in advance. 🙂
Hello Harsh Glad To Read This Guid On Setting Up WordPress For New Blogs.. This is very helpful to newbies..
Regards
Yeswanth Ray
Very Helpful For Starters……..