
The latest version of PHP is 7, and if you are hosting a WordPress site on any hosting, it’s important to have the latest version of PHP installed on your server. Recently, I was working on a WordPress blog which was installed on Bluehost server, and after activating a WordPress plugin, I realized that server is using PHP 5.6 version, and due to the older version of PHP, the plugin is not working.
Now, many of you who are not so tech-savvy, must be wondering what the heck you can do to update PHP version of your blog. In the tutorial, I will share how you can update your Bluehost Account PHP version right from your cPanel.
You don’t even need to get in touch with customer support, as this process will not take more than 1 minute. So let’s get on with our tutorial.
Using Bluehost cPanel to update PHP version:
The process is very simple, and you don’t need to be a tech-savvy guy to do it. All you need to have is your Bluehost cPanel login, and you need to know which PHP version you need.
In my case, I upgraded my Bluehost account PHP version to latest 7 version. Now, follow the simple two steps mentioned below, and you can easily make changes on your account:
- Login to your Bluehost account and click on cPanel to access cPanel options.
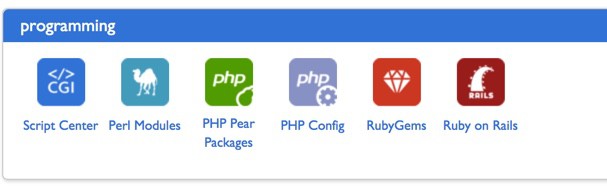
- Under Software/Services click on PHP Config
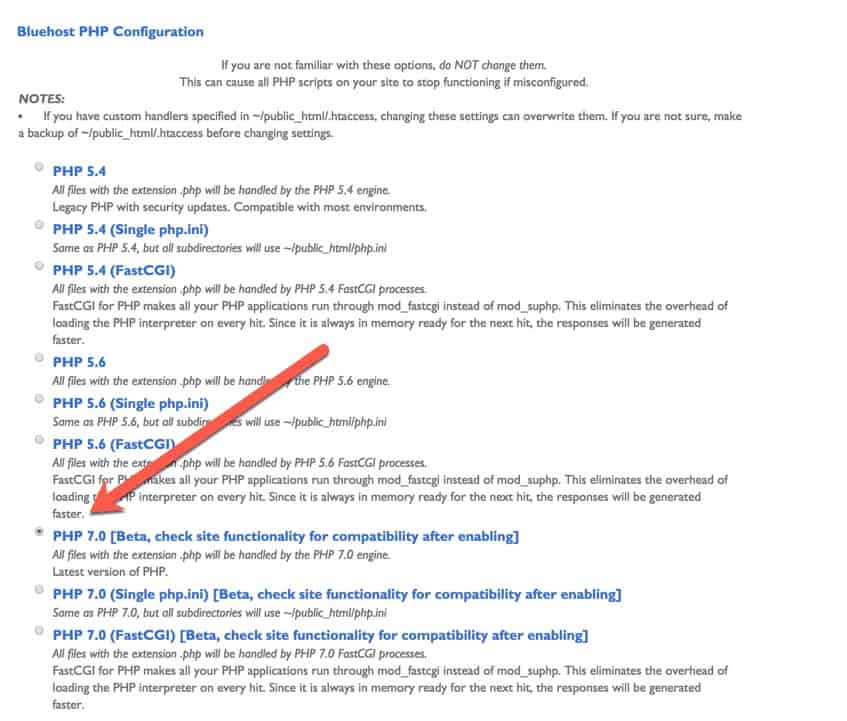
Now, on the next page select which PHP version you want to use. Simply select the PHP version box, and click on save changes. Along with this, you can use the same page to activate additional modules like:
- Imagick
- MagicWand
- Mail Parse
- IonCube
- Source Guardian
- OAuth
As soon as you click on Save changes, the PHP Engine selected by you will be activated, and now you will not get any more PHP version error warning.
Over all Bluehost makes it easier for its customers to make changes in PHP engine without getting into Tech-hassles.
Over all, if you are ever stuck in outdated PHP version issue on your Bluehost hosting account, with above-mentioned steps, you can quickly make changes. I hope this tutorial helped you, and feel free to ask me any questions related to same via comments. Also, don’t forget to share this article with other Bluehost users.
Subscribe
