
Have you recently purchased hosting from Hostgator India & all set to launch your first Website?
Before you do that, you need to point your existing domain to your hosting account. This step is the first step which you need to follow before you do anything on your hosting account. This is mandatory steps for you, even if you have the domain purchased from Hostgator India or Godaddy or any other domain registrar.
I would recommend buying the domain from Hostgator India, as their domain pricing is cheaper than any other domain registrar. To make most out of the offer, you should buy the domain for 3-5 years term. (It all depends on your online business plan & funds you have).
Let me show you how to do that, and there is a video at the end to make you understand the process easily.
How to find Nameserver for your Hostgator India Hosting account:
You can find nameserver from your Welcome email or by logging into your Hostgator India control panel. The best way is to check the welcome email where you can see the nameserver details:

If you have deleted your email or unable to find it, you can login to your hosting account & find  name-server from there. Login to your Hostgator India control panel, and click on Manage Orders> List search orders
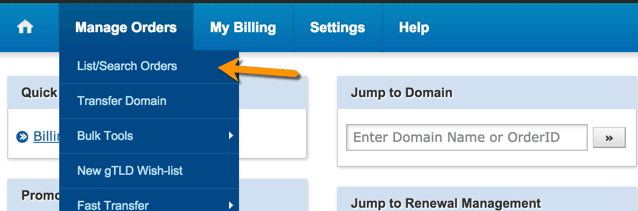
On the next page, click on domain name under your hosting product. (This is where you will find the nameserver associated with that particular hosting)

On the next page, click on Name-server details under your hosting package (See below screenshot)

Clicking on Name-server will bring up a pop-up where you can see the nameserver related to your hosting account.

Now, copy these name-server details & now you need to go to your domain manager & change the Name-server to the one which you just figured out above.
How to change Name-server of the domain purchased from Hostgator India
This section is fun as you will learn how to change the Name-server of domain purchased from Hostgator India. As you know, Hostgator India hosting offers both domain & hosting. You can use it to buy both or just domain or hosting.
In my case, I have purchased the domain & hosting both from them, as their domain pricing was cheaper than the other domain selling companies. So, let’s get on with this step.
Login to your hosting control panel & click on Manage order > List all orders (As you did in the above step)
Now, on the next page, click on the domain name for which you need to update the nameserver (Ensure the product should be the domain), as shown in below image.

On the next page, click on name-server & this is where you will be updating the nameserver.

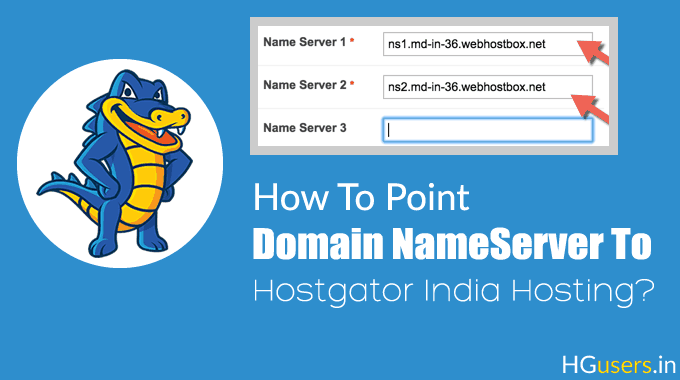
Remove all existing nameserver & just add the 2 nameservers which you have got in the first section of this tutorial.
Once you have copy-pasted the nameserver, you need to click on update & viola! You have successfully changed the nameserver of domain purchased from Hostgator India.

This is it; now you are all set to launch your first website. In the next tutorial, I will share how you can install WordPress blog on your hosting account.
Here is a video to help you understand the whole process:
If you have any query related to above steps, feel free to ask me in the comment section below. Don’t forget to share this guide with your friends, as this would help them to get started online.
Subscribe
Contents
